
I don't know about you, but I feel like my kitchen sink is always an ongoing battle. Even when the dishwasher is fully loaded and running, there are still the pots and pans and other fragile dishware sitting in the sink. I'm usually too lazy to wash them right away, so they just sit there. It hit me the other day that I should just invest in a countertop dish rack and reorganize things to set me up for success. Duh! After doing this, I feel like the kitchen sink is now a happy place!

First, I headed to Target and used a 15% off Cartwheel coupon to score this heavy duty Rubbermaid Dish Rack to help with my sink clutter battle.

This was my sink. It deceivingly looks somewhat clean...

But the overspill of dishes that didn't fit in the dishwasher and fragile things are always lurking.

I had rigged up this cake stand to hold my soaps and sponges (they were living in the flower pot), but it just always seemed nasty and dingy.

The dish soap holder lost it's top and then just looked like this always. Yuck.

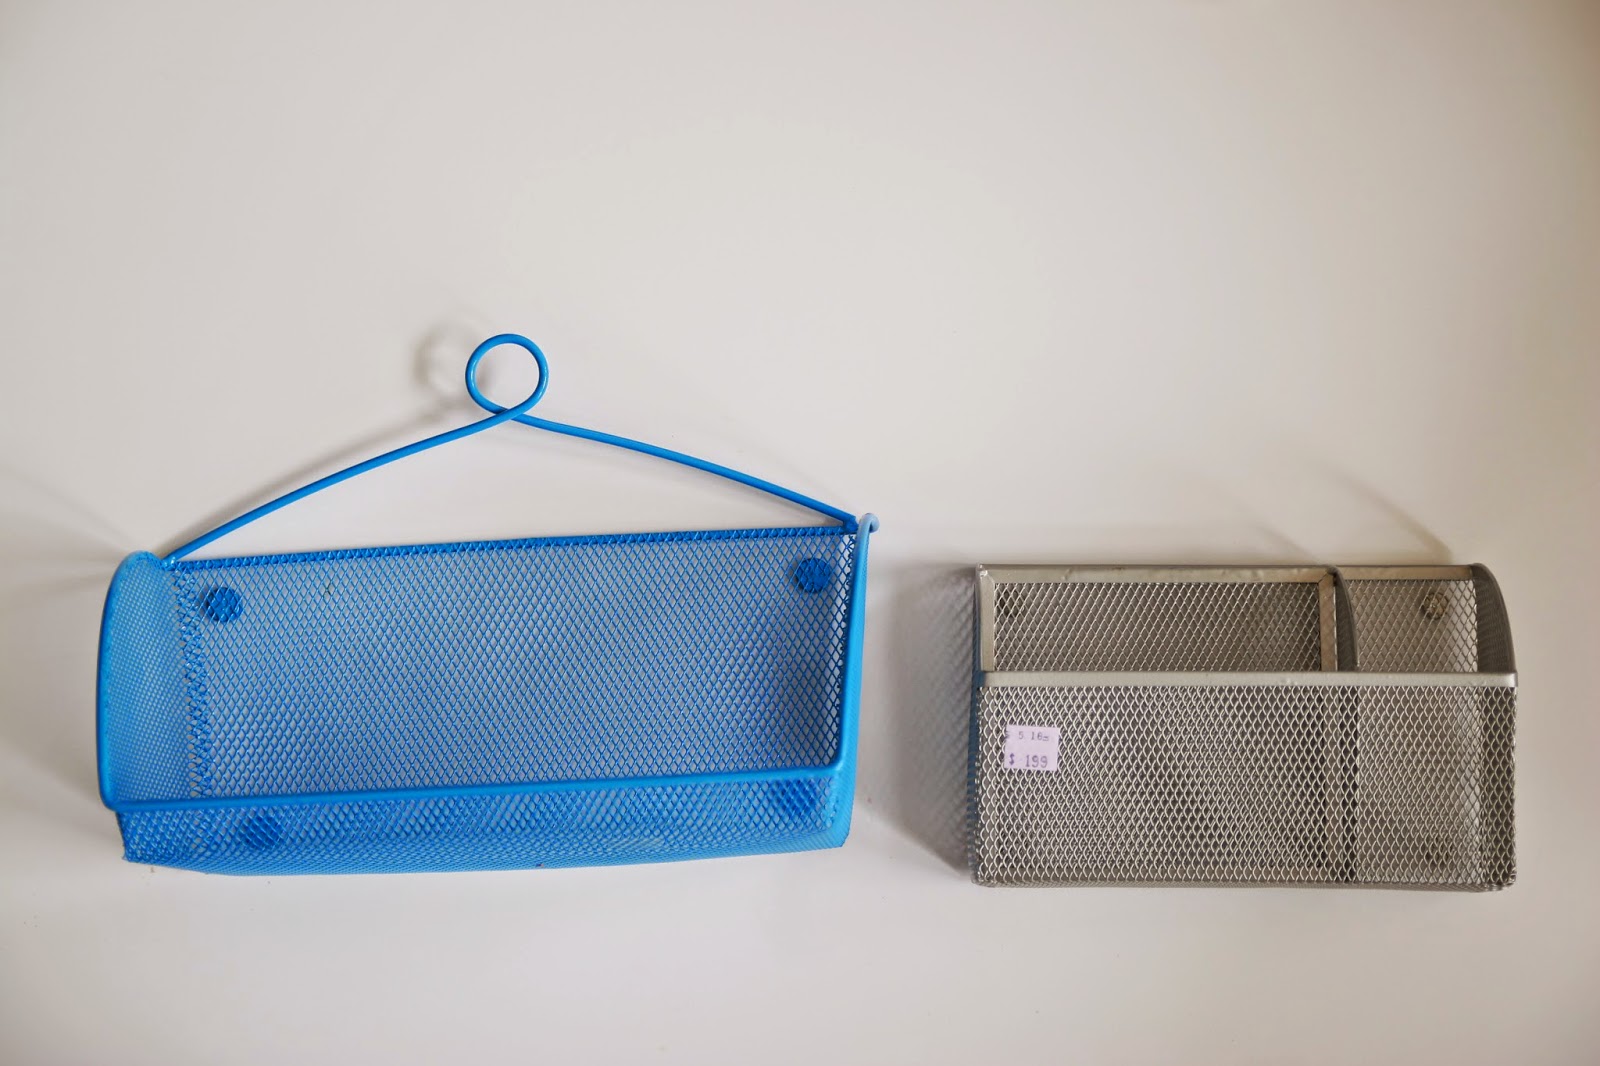
So, like any good DIY-er and thrifty girl, I headed to the thrift store to see if I could come up with an easy solution. I immediately spotted these office supply organizers and I knew they had potential.
I invisioned my empty nook right here....

And so after a little oil rubbed bronze spray paint,


That little nook was transformed into this:

The pencil/paper holder was the absolute perfect size for holding sponges!! And the small shelf fit a nice new shiny glass dish soap holder, a tiny dish for the scrubber and a new friendly succulent.

That pot with the nasty sponges also acquired a new friend for the kitchen

And now my pots and pans and too-big-for-the-dishwasher stuff can hang out in the Rubbermaid Dish Rack, which really does get the job done! (Why was I wasting my time with hand drying? Just stick those wet suckers on this rack and it does all the work.)

Yay! Just a few small changes makes this space fresh and happy!


